- Đặt Vấn Đề: Thách Thức Cốt Lõi Khi Xây Dựng Hệ Thống Multi-Tenant Quy Mô Enterprise
- Quản Lý Context Vô Hình Với Node.js AsyncLocalStorage
- Thiết Kế Dynamic Dynamic Connection Manager Với TypeORM
- Tích Hợp Scope-Aware Provider Trong NestJS Dependency Injection
- Chiến Lược Tự Động Hóa Migration Dữ Liệu Cho Tenant Mới
- Tổng Kết Và Best Practices
Đặt Vấn Đề: Thách Thức Cốt Lõi Khi Xây Dựng Hệ Thống Multi-Tenant Quy Mô Enterprise
Trong kỷ nguyên ứng dụng SaaS (Software as a Service), việc thiết kế kiến trúc đa người dùng (Multi-Tenant Architecture) đòi hỏi kỹ sư phần mềm phải giải quyết bài toán cân bằng giữa tính cô lập dữ liệu (Data Isolation), hiệu năng hệ thống (Performance) và chi phí hạ tầng (Infrastructure Cost). Khi ứng dụng tăng trưởng từ vài chục đến hàng nghìn tổ chức khách hàng (Tenants), chiến lược phân chia dữ liệu trở thành yếu tố quyết định sự sống còn của toàn bộ hệ thống back-end.
Thực tế phát triển ứng dụng SaaS enterprise thường xoay quanh 3 mô hình lưu trữ chính:
- Shared Database, Shared Schema: Tất cả tenant dùng chung một cơ sở dữ liệu và bảng. Dữ liệu phân biệt bằng cột
tenant_id. Mô hình này tiết kiệm chi phí nhất nhưng rủi ro rò rỉ dữ liệu (Data Leakage) giữa các tenant là cực kỳ cao nếu thiếu sót điều kiện filtering trong câu truy vấn SQL. - Separate Database: Mỗi tenant sở hữu một Database độc lập hoàn toàn. Phương án này mang lại độ bảo mật cao nhất nhưng chi phí bảo trì connection pool, vận hành hạ tầng và chi phí licensing tăng theo bội số nhân.
- Shared Database, Separate Schema: Các tenant dùng chung một Database instance nhưng mỗi tenant sở hữu một Database Schema độc lập (ví dụ trong PostgreSQL). Đây là mô hình tối ưu hàng đầu về mặt chi phí và độ cô lập dữ liệu cho các ứng dụng B2B Enterprise.
Tuy nhiên, khi triển khai mô hình Separate Schema hoặc Separate Database trên nền tảng Node.js với NestJS và TypeORM, lập trình viên sẽ đối mặt với rủi ro nghiêm trọng: bài toán quản lý vòng đời kết nối (Connection Lifecycle Management), cạn kiệt bộ nhớ (Memory Leak) do tạo quá nhiều connection pool, và hiện tượng nhiễu ngữ cảnh (Context Leaking) giữa các request đồng thời.
Quản Lý Context Vô Hình Với Node.js AsyncLocalStorage
Một trong những sai lầm phổ biến khi mới xây dựng multi-tenant backend là truyền thủ công tham số tenantId qua từng tầng controller, service, repository. Cách tiếp cận này làm phá vỡ nguyên lý Clean Architecture, gây bẩn mã nguồn và rất dễ bỏ sót ở các hàm xử lý lồng nhau.
Để giải quyết triệt để vấn đề này, giải pháp tối ưu là sử dụng module native AsyncLocalStorage của Node.js. Kỹ thuật này cho phép lưu trữ context dữ liệu xuyên suốt chuỗi gọi hàm bất đồng bộ (Asynchronous Execution Chain) của một HTTP request mà không cần truyền tham số qua các tham số hàm.
Dưới đây là cách triển khai custom TenantContext module:
import { Injectable, NestMiddleware, BadRequestException } from "@nestjs/common";
import { AsyncLocalStorage } from "async_hooks";
import { Request, Response, NextFunction } from "express";

export interface TenantStore {
  tenantId: string;
  schema: string;
}

@Injectable()
export class TenantContext {
  private static readonly storage = new AsyncLocalStorage<TenantStore>();

  static run(store: TenantStore, callback: () => void): void {
    this.storage.run(store, callback);
  }

  static getTenantId(): string | undefined {
    return this.storage.getStore()?.tenantId;
  }

  static getSchema(): string | undefined {
    return this.storage.getStore()?.schema;
  }
}

@Injectable()
export class TenantMiddleware implements NestMiddleware {
  use(req: Request, res: Response, next: NextFunction) {
    const tenantId = req.headers["x-tenant-id"] as string || this.extractSubdomain(req);

    if (!tenantId) {
      throw new BadRequestException("X-Tenant-ID header hoặc subdomain là bắt buộc.");
    }

    const schema = `tenant_${tenantId.toLowerCase().replace(/[^a-z0-9_]/g, "")}`;

    TenantContext.run({ tenantId, schema }, () => {
      next();
    });
  }

  private extractSubdomain(req: Request): string | null {
    const host = req.headers.host || "";
    const parts = host.split(".");
    if (parts.length > 2) {
      return parts[0];
    }
    return null;
  }
}
Thiết Kế Dynamic Dynamic Connection Manager Với TypeORM
Sau khi xác định được tenant context cho từng request, thách thức tiếp theo là làm thế nào để routing câu truy vấn cơ sở dữ liệu đến đúng Schema hoặc Database tương ứng một cách linh hoạt mà vẫn tối ưu chi phí tài nguyên.
Nếu tạo một DataSource mới cho mỗi HTTP Request, ứng dụng sẽ bị sập chỉ sau vài phút do quá tải kết nối và cạn kiệt bộ nhớ. Do đó, chúng ta cần triển khai pattern Connection Caching & Idle Eviction Strategy.
import { Injectable, OnModuleDestroy, InternalServerErrorException } from "@nestjs/common";
import { DataSource, DataSourceOptions } from "typeorm";

interface DynamicTenantConnection {
  dataSource: DataSource;
  lastAccessed: number;
}

@Injectable()
export class DynamicTenantConnectionManager implements OnModuleDestroy {
  private connections: Map<string, DynamicTenantConnection> = new Map();
  private readonly IDLE_TIMEOUT_MS = 10 * 60 * 1000; // 10 phút idle

  constructor() {
    // Routine tự động dọn dẹp các connection ngắt kết nối quá lâu
    setInterval(() => this.evictIdleConnections(), 60000);
  }

  async getTenantDataSource(schema: string): Promise<DataSource> {
    const existing = this.connections.get(schema);

    if (existing && existing.dataSource.isInitialized) {
      existing.lastAccessed = Date.now();
      return existing.dataSource;
    }

    const newDataSource = await this.createDataSourceForSchema(schema);
    this.connections.set(schema, {
      dataSource: newDataSource,
      lastAccessed: Date.now(),
    });

    return newDataSource;
  }

  private async createDataSourceForSchema(schema: string): Promise<DataSource> {
    try {
      const baseOptions: DataSourceOptions = {
        type: "postgres",
        host: process.env.DB_HOST,
        port: parseInt(process.env.DB_PORT || "5432", 10),
        username: process.env.DB_USER,
        password: process.env.DB_PASSWORD,
        database: process.env.DB_NAME,
        schema: schema,
        entities: [__dirname + "/../**/*.entity{.ts,.js}"],
        synchronize: false,
        poolSize: 5, // Mỗi tenant giữ tối đa 5 idle connection
      };

      const dataSource = new DataSource(baseOptions);
      await dataSource.initialize();
      return dataSource;
    } catch (error) {
      throw new InternalServerErrorException(`Không thể khởi tạo kết nối cho Schema: ${schema}`);
    }
  }

  private async evictIdleConnections(): Promise<void> {
    const now = Date.now();
    for (const [schema, conn] of this.connections.entries()) {
      if (now - conn.lastAccessed > this.IDLE_TIMEOUT_MS) {
        if (conn.dataSource.isInitialized) {
          await conn.dataSource.destroy();
        }
        this.connections.delete(schema);
      }
    }
  }

  async onModuleDestroy() {
    for (const [schema, conn] of this.connections.entries()) {
      if (conn.dataSource.isInitialized) {
        await conn.dataSource.destroy();
      }
    }
    this.connections.clear();
  }
}
Tích Hợp Scope-Aware Provider Trong NestJS Dependency Injection
Để tầng Service có thể làm việc trực tiếp với Repository của tenant hiện tại mà không cần quan tâm đến logic khởi tạo hạ tầng bên dưới, chúng ta ứng dụng cơ chế Dynamic Scope-Aware Provider trong NestJS Container.
Dưới đây là phương pháp inject EntityManager động theo request:
import { Module, Scope, Global, Provider } from "@nestjs/common";
import { REQUEST } from "@nestjs/core";
import { EntityManager } from "typeorm";
import { DynamicTenantConnectionManager } from "./dynamic-tenant-connection-manager";
import { TenantContext } from "./tenant-context";

export const TENANT_ENTITY_MANAGER = "TENANT_ENTITY_MANAGER";

const TenantEntityManagerProvider: Provider = {
  provide: TENANT_ENTITY_MANAGER,
  scope: Scope.REQUEST,
  useFactory: async (connectionManager: DynamicTenantConnectionManager): Promise<EntityManager> => {
    const schema = TenantContext.getSchema();
    if (!schema) {
      throw new Error("Tenant Context không hợp lệ trong phạm vi Request.");
    }
    const dataSource = await connectionManager.getTenantDataSource(schema);
    return dataSource.manager;
  },
  inject: [DynamicTenantConnectionManager],
};

@Global()
@Module({
  providers: [DynamicTenantConnectionManager, TenantEntityManagerProvider],
  exports: [DynamicTenantConnectionManager, TENANT_ENTITY_MANAGER],
})
export class MultiTenantCoreModule {}
Sử Dụng Tenant Repository Trong Business Service
Nhờ cơ chế Dependency Injection đã được đóng gói, tầng xử lý logic kinh doanh (Business Logic Layer) trở nên vô cùng sạch sẽ và hoàn toàn tách biệt khỏi các thiết lập đa người dùng phức tạp:
import { Injectable, Inject } from "@nestjs/common";
import { EntityManager } from "typeorm";
import { TENANT_ENTITY_MANAGER } from "./multi-tenant-core.module";
import { Product } from "./entities/product.entity";

@Injectable()
export class ProductService {
  constructor(
    @Inject(TENANT_ENTITY_MANAGER)
    private readonly entityManager: EntityManager,
  ) {}

  async findAllProducts(): Promise<Product[]> {
    return this.entityManager.find(Product, {
      where: { isAvailable: true },
      order: { createdAt: "DESC" },
    });
  }

  async createProduct(dto: Partial<Product>): Promise<Product> {
    const product = this.entityManager.create(Product, dto);
    return this.entityManager.save(Product, product);
  }
}
Chiến Lược Tự Động Hóa Migration Dữ Liệu Cho Tenant Mới
Bài toán cuối cùng nhưng quan trọng hàng đầu trong kiến trúc Multi-Tenant Schema-per-Tenant chính là duy trì cấu trúc Schema đồng nhất. Khi ứng dụng có tính năng mới và cần thêm bảng hoặc sửa đổi cột (Alter Column), làm thế nào để cập nhật tất cả các Schema hiện có của khách hàng mà không gây downtime?
Giải pháp tối ưu là xây dựng một Tenant Migration Runner Service chuyên biệt:
# Script tạo migration template chuẩn trong dự án NestJS
npx typeorm migration:create src/migrations/AddTaxCodeToOrders
Đoạn mã tự động quét và áp dụng Migration lên tất cả Schema tenant đang tồn tại trong hệ thống:
import { Injectable, Logger } from "@nestjs/common";
import { DataSource } from "typeorm";

@Injectable()
export class TenantMigrationRunner {
  private readonly logger = new Logger(TenantMigrationRunner.name);

  async runMigrationsForTenant(schema: string): Promise<void> {
    this.logger.log(`Bắt đầu chạy Migration cho Schema: ${schema}`);

    const dataSource = new DataSource({
      type: "postgres",
      host: process.env.DB_HOST,
      port: parseInt(process.env.DB_PORT || "5432", 10),
      username: process.env.DB_USER,
      password: process.env.DB_PASSWORD,
      database: process.env.DB_NAME,
      schema: schema,
      entities: [__dirname + "/../**/*.entity{.ts,.js}"],
      migrations: [__dirname + "/../migrations/*{.ts,.js}"],
      migrationsTableName: "tenant_migrations",
    });

    try {
      await dataSource.initialize();

      // Khởi tạo schema nếu chưa tồn tại
      await dataSource.query(`CREATE SCHEMA IF NOT EXISTS "${schema}"`);

      // Chạy toàn bộ migration chưa áp dụng
      const executedMigrations = await dataSource.runMigrations();
      this.logger.log(`Đã thực thi thành công ${executedMigrations.length} migration(s) trên ${schema}`);
    } catch (error) {
      this.logger.error(`Lỗi thực thi Migration trên Schema ${schema}:`, error);
      throw error;
    } finally {
      if (dataSource.isInitialized) {
        await dataSource.destroy();
      }
    }
  }
}
Tổng Kết Và Best Practices
Xây dựng kiến trúc Multi-Tenant quy mô Enterprise trên NestJS đòi hỏi việc thấu hiểu sâu sắc các khái niệm Asynchronous Context, Dynamic Connection Pooling và Lifecycle Management của Database Engine. Bằng cách kết hợp AsyncLocalStorage để quản lý context và triển khai dynamic connection pool với thuật toán giải phóng connection rảnh rỗi (idle eviction), hệ thống back-end của bạn có thể dễ dàng mở rộng lên hàng nghìn tenant mà vẫn đảm bảo tốc độ phản hồi tối ưu và an toàn dữ liệu tuyệt đối.
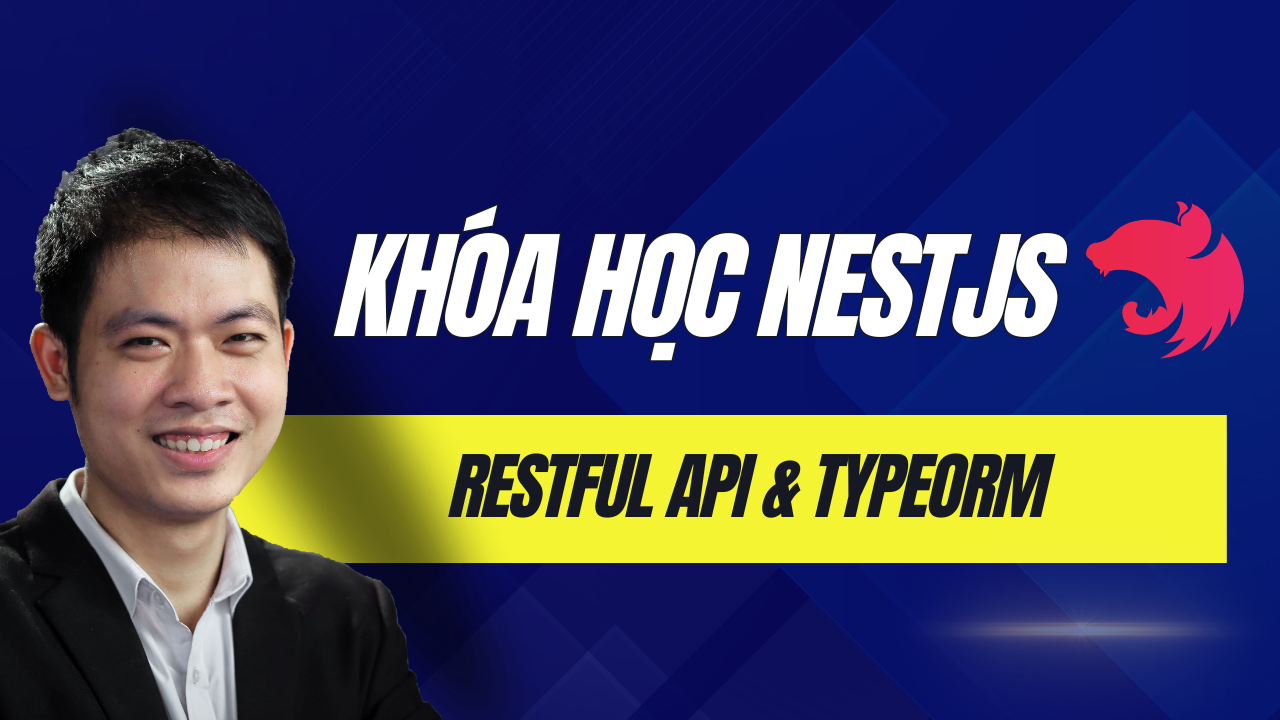
Nếu bạn muốn làm chủ kỹ năng thiết kế hệ thống back-end chuyên nghiệp, xây dựng các kiến trúc chuẩn enterprise từ căn bản đến nâng cao, Tham khảo khóa học "RESTful API với NestJS & TypeORM" tại đây để nâng tầm tư duy lập trình ngay hôm nay.

.png)

Bình luận 0
Chia sẻ ý kiến hoặc đặt câu hỏi cùng cộng đồng